
So, my New Year's resolution is to finish ALL my current projects before starting any new ones (well, minus birthday presents, I still need to do those). For some (well, most) of these projects I won't have pictures throughout the entire project, but I will post what I can. I figured this way, I will have a little more motivation to get them all done :)
To start, here is my first project. This one started out with an idea and then we found the cutest ribbon (I'm starting to really like ribbon, there are so many fun styles out there) and it was all decided. It isn't quite finished, but I plan to finish it this weekend. But to start, here it is:
Ribbon Flower Pillow:
This is what it currently looks like. If you haven't guessed by now, I love flowers, pretty much any kind of flower. Though orchids are my absolute favorites and always will be. But they are a little more difficult to figure out how to mimic with ribbon, if anyone has an idea, I'd love to hear it. Okay, so now that I have digressed from the project, maybe that's why I have so many half finished ones :), let's get back to the instructions.

Here's how you start. First, pick a ribbon, find something that speaks to you like this one did to me. It practically jumped off the rack right into my hands. It was love at first site. This is a patterned grosgrain that is 1 1/2" wide.
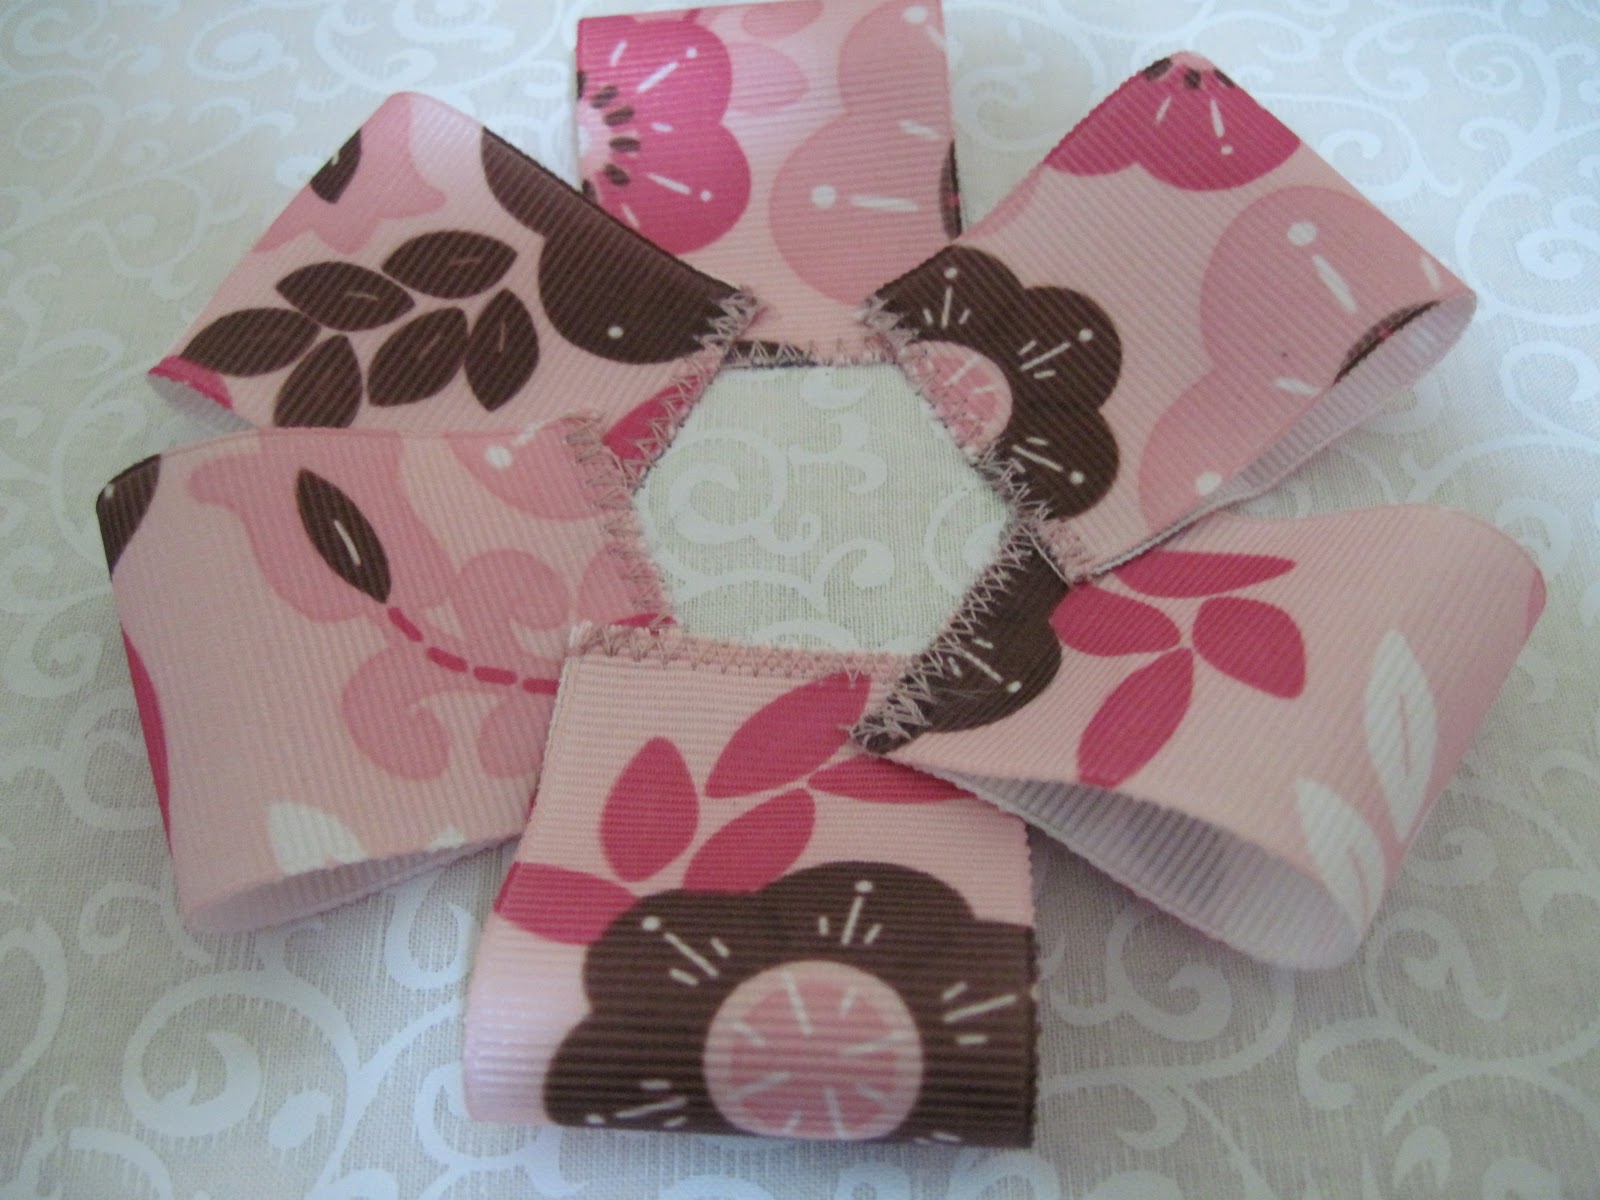
Once you have your ribbon, you will need to decide how long the "petals" will be. Mine are 3 3/4" long. You will need to cut your petals pin them together so that you can determine how many you need.

I started to lay mine out in the shape I wanted as I cut and pinned.


Now it's time to start sewing. You will want to do a zigzag stitch along the edge of each petal. I just noticed that I forgot to take a picture of just the zigzag, but I'm sure you know what a zigzag stitch looks like. After those are all complete, you will need to layout your first round of petals. I layed mine out and pined them in place as I worked.


No comments:
Post a Comment